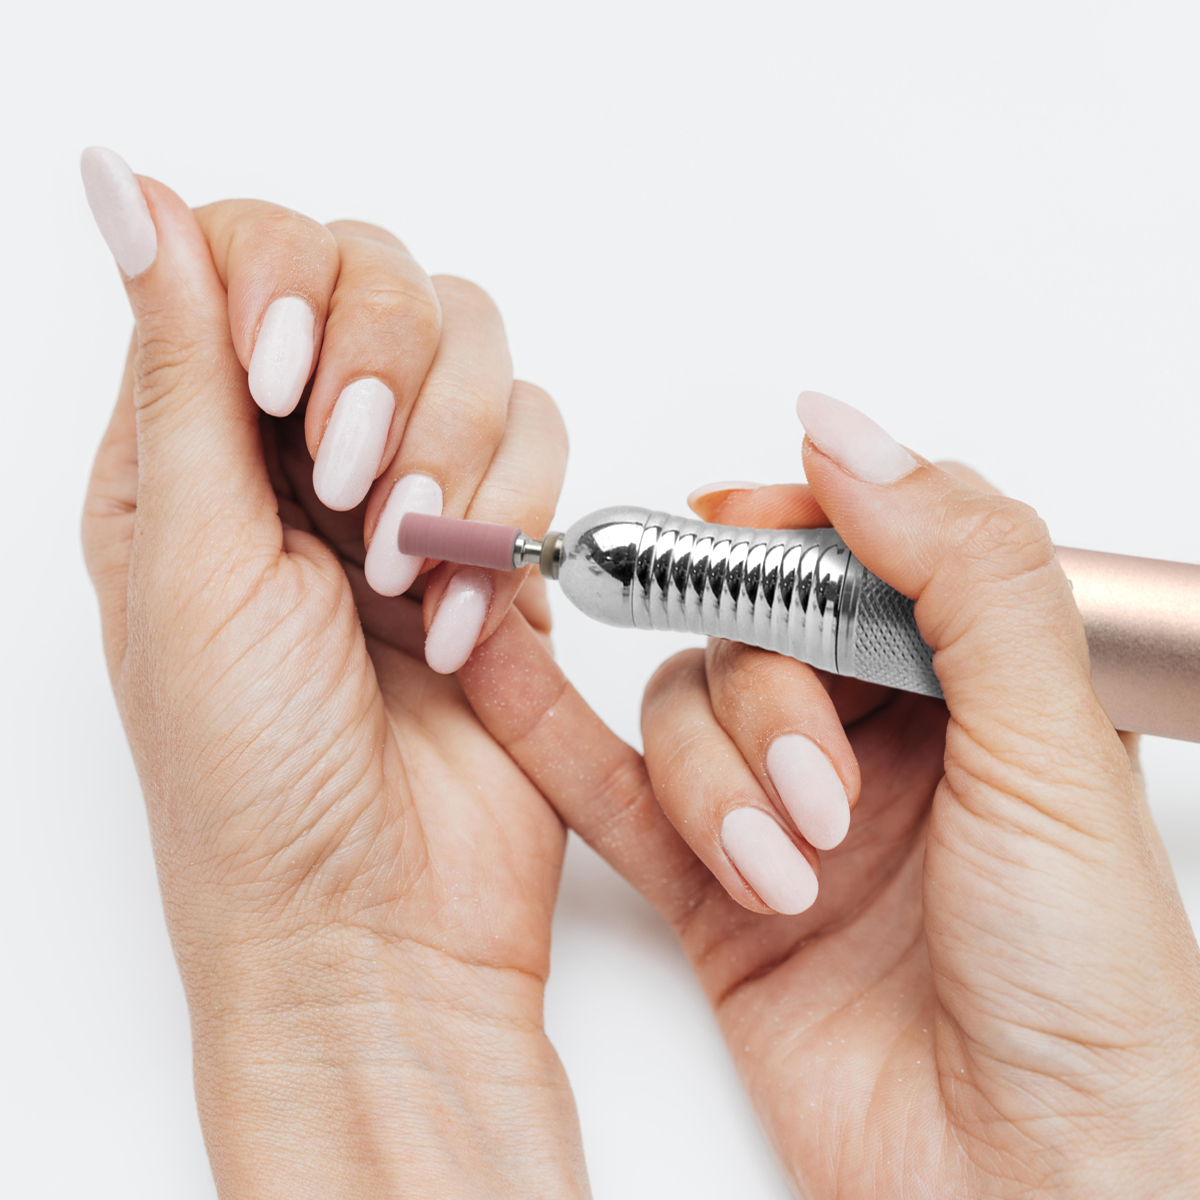
A professional manicure or pedicure is defined by its details: the perfect shape, the smooth surface, and the flawless finish. While files and buffers can do the job, a quality electric nail drill and its bits are the true game-changers for both professionals and savvy at-home users. Understanding nail drill bits is key to achieving salon-quality results safely and efficiently.
Why Use Nail Drill Bits?
The primary reasons to use nail drill bits are precision, speed, and versatility.
1. Precision and Control: Hand filing can be uneven. A drill allows for targeted work on specific areas, like carefully refining the nail shape or delicately cleaning the cuticle, without affecting the entire nail.
2. Efficiency and Speed: Removing old gel polish, acrylics, or simply shaping natural nails is exponentially faster with a drill. What takes minutes with a file can take seconds with the right bit, saving valuable time.
3. Versatility: From heavy-duty removal to gentle buffing, there is a specific bit for nearly every task in the nail care process. This versatility makes a drill an all-in-one tool.
How to Choose the Right Nail Drill Bits?
Selecting the correct bit is crucial for both the result and the health of your nails. Here are the key factors to consider:
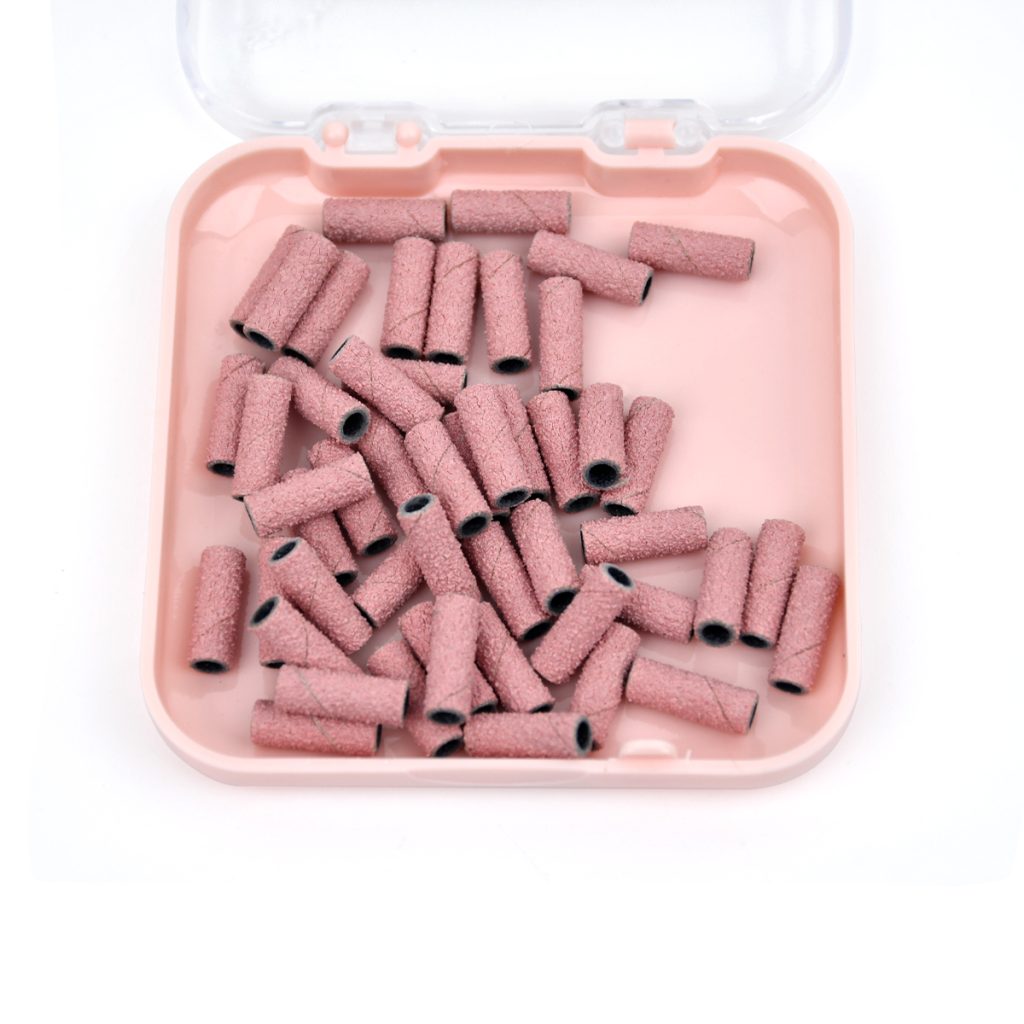
1. Material: Bits are made from different materials, each suited for specific jobs.
- Carbide (Tungsten): These are the most popular and durable. They have a rough, textured surface that efficiently files away product. They are easy to clean and sterilize, making them ideal for professionals. They are best for removing hard gel and acrylics.
- Ceramic: Known for their smooth finish and fine grit, ceramic bits generate less heat and friction. They are perfect for detailed work on natural nails, cuticle care, and fine finishing.
- Diamond: These bits have a metal core coated with diamond dust. They come in a wide range of grits (from coarse to very fine) and are excellent for both removing product and refining the surface of the natural nail.
2. Shape: The shape of the bit’s head determines its function.
- Cone: A pointed tip perfect for precision work, cuticle pushing, and cleaning around the nail edges.
- Cylinder (Barrel): A flat-ended bit with a large surface area, great for removing product from the center of the nail plate quickly.
- Flame: This versatile, rounded shape tapers to a point, allowing you to use the side for large areas and the tip for detail work. It’s a fantastic all-rounder.
- Saucer/Spherical: A rounded, concave bit designed for gentle cuticle work and polishing. It follows the natural curve of the nail.
3. Grit (Abrasiveness): Think of grit like sandpaper. The lower the number, the more coarse and aggressive the bit.
- Coarse (80-150 grit): For aggressive removal of thick acrylics or hard gel. Use with extreme caution.
- Medium (180-240 grit): For standard removal of softer gels and smoothing surfaces.
- Fine (400-600 grit): For refining, shaping, and buffing the nail before applying polish.
4. Shank Size: Ensure the bit’s shank (the part that inserts into the drill) matches your machine. The most common size is 3/32” (2.35mm).
Essential Usage Tips and Techniques
Using a nail drill requires a gentle touch and practice. Always prioritize safety.
1. Start Low and Slow: Never use high speeds, especially as a beginner. Start at a low RPM (revolutions per minute). High speed generates excessive heat and friction, which can cause painful burns and damage to the natural nail.
2. The Feather-Light Touch: You do not need to apply pressure. Let the bit do the work. Gently glide the bit over the nail surface. The weight of the drill itself is often enough pressure.
3. Keep it Moving: Never hold the bit stationary in one spot. Constant, gentle movement prevents heat buildup and avoids creating grooves or weak spots in the nail.
4. Work in Stages: When removing polish, work in layers. Don’t try to remove all the product at once. Go from a coarser grit to a finer grit to gradually and safely thin the product until it can be popped off or gently filed away.
5. Sanitation is Key: Always disinfect your bits before and after each use, especially if used on multiple people. Most metal bits can be sterilized in an autoclave or soaked in disinfectant solution.
6. Protect Yourself and Your Client: Wear a mask to avoid inhaling dust particles and use safety glasses for eye protection.
In conclusion, mastering nail drill bits unlocks a new level of nail artistry. By understanding why you need them, how to choose the right one for the task, and practicing proper technique, you can achieve beautiful, professional, and healthy nails every time. Remember, patience and a light touch are your most important tools.